|
|
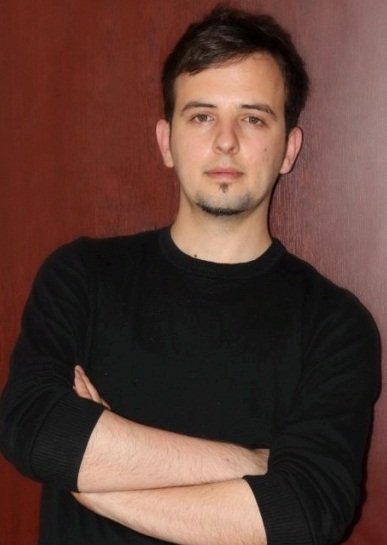
Hello Everybody...I want to share the construction stages of my work ElectroBot, which I have been working on for a while and have finally completed it. The Transformers movie was my childhood hero. I would watch it with great joy and passion. Sometimes I would even imagine that my toy cars would eventually change into robots. Other times, I would take apart my toys (the motor, wires, tires, etc.) and use these parts as arms and legs and connect them with rubber bands to make my own robots.
|
Name- Sait Bakirci
Born- 17-Jan-1987
City- Istanbul
Field- Modeling
Mail id- saitbakirci@gmail.com
Website- http://www.saitbakirci.com
ElektroBot by Sait Bakirci:
When the series first came out in 2007, myself and many others were captivated by the fact that the movie was supported with today's visual effects. I was inspired by the movie and told myself that no matter what I need to have my own robot, I need to design a robot and I eventually started my project.
When I was child, taking apart my cars and making a robot was easy; however, now, the situation was a little different and I didn't know where to start. Later down the line, I conducted a detailed search on the internet. I found many trailers, pictures, and documents and went through all of them. Then I started to slowly create the design I had in mind. After a 2.5 month period, I had planned and completed my project. I used some of the visual pictures as a reference throughout this project. I didn't find these visuals to use them identically but rather I choose to use them as my muse.
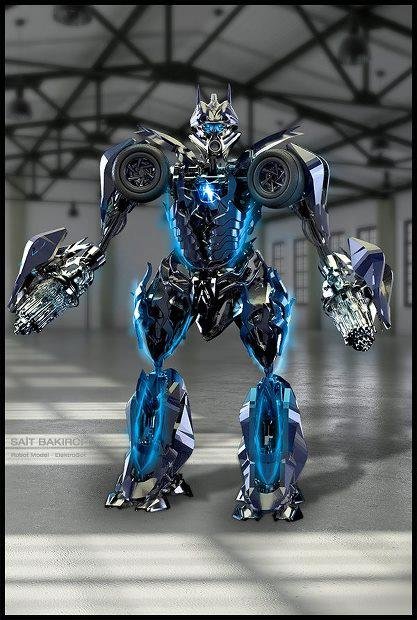
Introduction to Modeling:
Before I started my model, as a result of my research, I realized that the model had to be designed in such a way that every part had to be integrated with each other and that they had to be suitable for animation. For this reason, I constructed the anatomy of my model with this in mind. For example, if you want to model a gun, all of the parts need to be connected from the same original point. If not, then it would be no different than a crooked bicycle tire that is out of sync with the other. This would only make us loose time during the animation phase. Because of this, I divided my model into sections. I developed separate construction phases and plans for the Head, Body, and Arms and Legs. I want to start by explaining the Head's modeling phase.
Stage 1. Modeling the Head:
After completing my research, I needed to start working. The modeling technique I generally used was based on polygon modeling. First I roughly modeled the base and then moved on to the next step which was detailing.
.png)
I realized that once you have designed and obtained the base, this makes things much easier. If you start your work from the details, this will make your life much more difficult. I continued my work by modeling the eyes.
.png)
By further developing the model, I continued to give details to the base and put emphasis on the eyes and nose.
.png)
After completing the rough base, I started detailing. I want to note that I didn't use a reference when I modeled the tiny parts on the head. I completely improvised during modeling. I wanted my model to have a warrior identity so I started to model the curves and details accordingly.
.png)
At this stage, I had almost completed the head model. After adding the accessories that I designed, I finished my head model.
.png)
Stage 2. Modeling the Body:
Now, let's model the body. As I mentioned earlier, I wanted my model to have a warrior-like look. This is why I used the Megatron model as a reference.
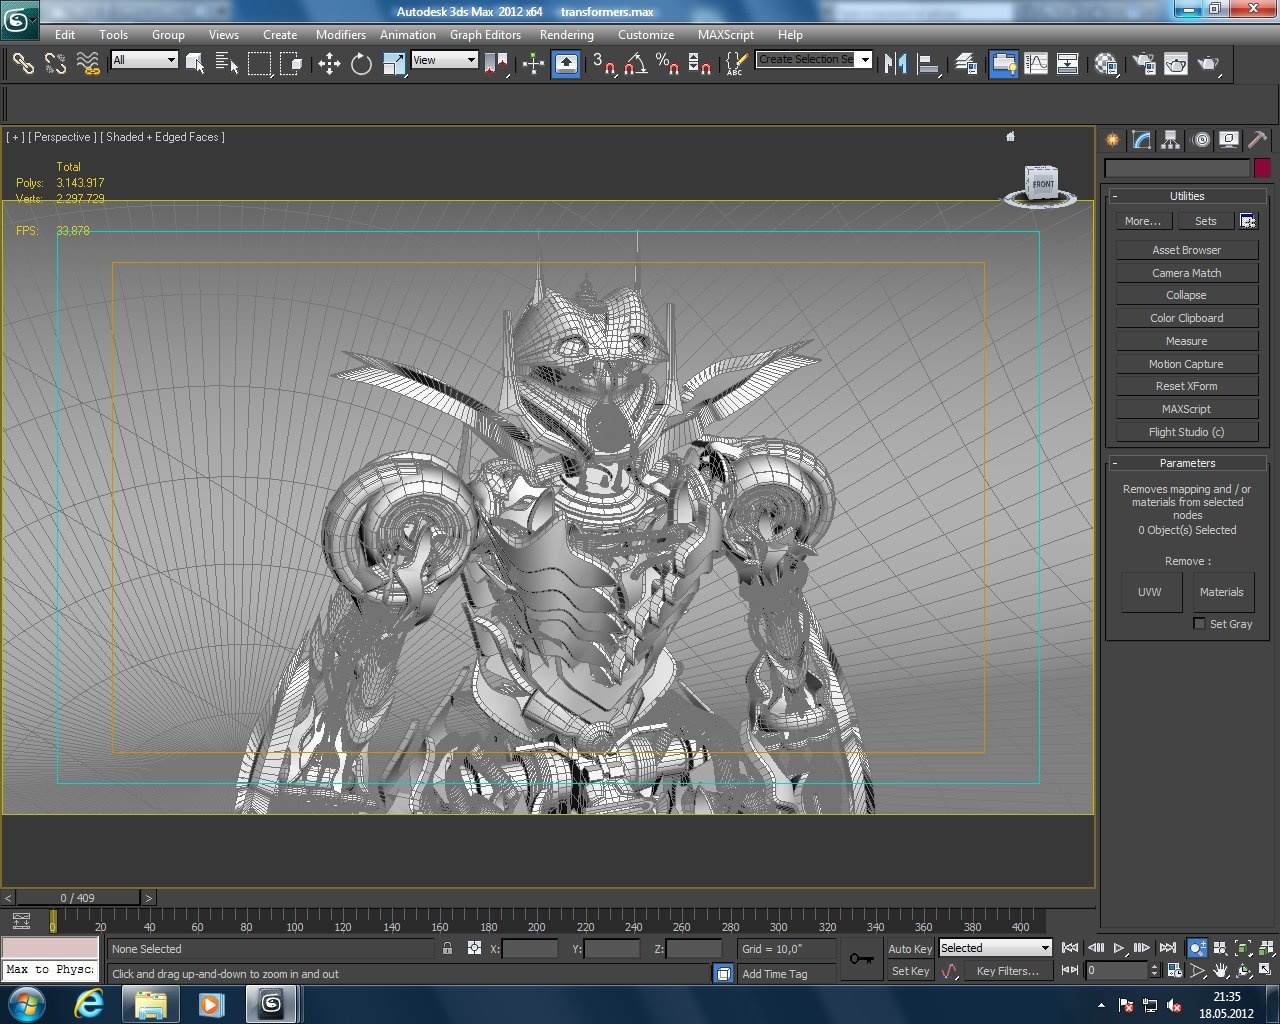
I modeled the body in two stages: (1) the surface of the body and (2) the internal structure of the body. The reason I followed a two-stage modeling procedure was so that I could animate the model later on. I had to calculate the coordination between all parts.
Body Stage 1 : First let's model the surface of the body where we will start with the rough body where we can model according to its anatomy. We need to add a bone structure to the picture as a reference (Biped). The reason we add a bone structure is to prevent future problems when we integrate all of the parts in later stages. After we have added the bone structure, we choose "Freeze Selection" (You can reach Freeze Selection from the menu when you right click on the mouse). Once again, I improvised when I constructed the model's body. Also, I tried to design my model according to the inner structure as well. We need to model as a whole and we need to do this by calculating the next step. After completing these calculations, I completed the modeling of the surface body.
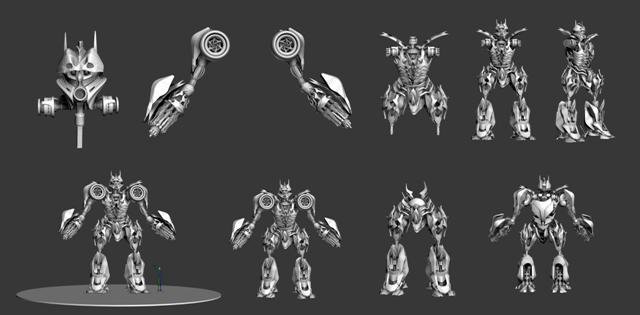
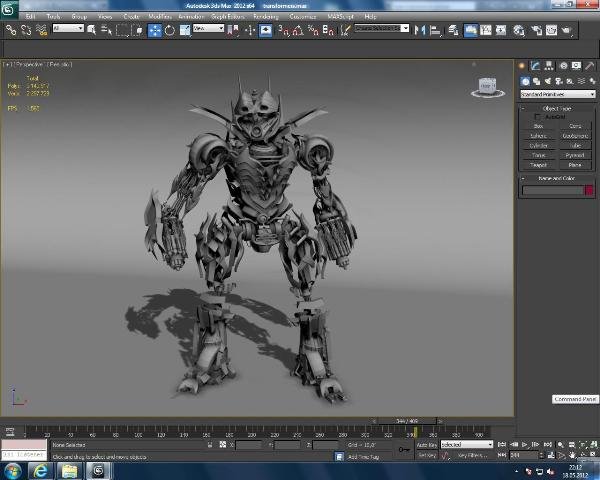
Body Stage 2 : Now let's model the internal structure of the body. Before I started to model this section, I had to do the next set of calculations. This section is much more difficult than the others because after this section, you have to integrate the Head and Arms and Legs so that they are suitable for animation. This means that in the next steps, you need to pay close attention to these 3 stages. If we don't pay attention, later on down the line, when parts are animated from other sections, the synchronization at the connection points may not match and the model will lose its aesthetics.
Before I started modeling, I had to do some extra research to create the internal structure. I examined motor structures via Google.com and studied the integration between these parts. Based on this information, I started working on my model and used the visual below as an example. Also, I used the model's curves and anatomy as a reference but completed my model using my imagination.
.png)
As you can see in the picture below, I am almost done with the body details. Assuming that it is done, I completed the body section. To check my work, I connected the sections of Stage 1 and Stage 2 and completed the body.
.png)
Stage 3 Modeling the Arms and Legs:
Modeling the Arm Section
Now it's time to prepare the arms for my model. For my model to have a warrior figure, I started to model the arms in detail. The arms are completely the product of improvisation and my own imagination. I wanted the arms to have an aesthetic model so I modeled the basic sections of the base of the arm until the elbow.
.png)
Between the shoulder and elbow, I generally used a structure that had corrugated parts. As you can see from the picture, the joint section somewhat resembles the structure of a muscle.
.png)
NOTE: In the future, I might want to convert my model into a car, so, I have already determined the tire locations and added tires to my model. This section had to have a logical appearance. So, I drew a detailed modeling system where the arm could easily move within the joint section. After coming to the elbow section, I had to pay attention and model joint locations that would make it easy for picture posing.
.png)
After completing the shoulder section, I preferred to insert guns where the hands are located. I examined many gun models and also designed many during my research but didn't like any of them. Finally, I was inspired by the guns used for the "Ironhide"Trasformer model. With this, I completed the guns section for my model.
.png)
.png)
Modeling the Leg Section:
Now this is the final section of my model. As I prepared the leg section, I examined many reference models separately. After this, I completed the model by incorporating my own interpretation. One of the models that I examined as a reference was the Optimus Prime character.
.png)
While I modeled the legs, again, I planned section by section. Firstly, I set up the structure that would connect the legs with the body. I used the (Biped) leg section, which I had initially placed in the bone system, as a reference for dimensioning and then started modeling.
In general, I modeled the leg section's base in 3 parts. First I modeled the upper leg. Then I moved on to the knee, which is a joint. After completing the modeling here, I modeled the feet and completed the base.
The reason I modeled each part separately was to give my ElectroBot model the opportunity to pose for pictures and not come across any problems during animation.
If I hadn't drawn these separately, I wouldn't have been able to give any posing opportunities for my model. After completing the external skeleton, I drew the all of the internal features in detail. You can see details of this section in the visuals below.
.png)
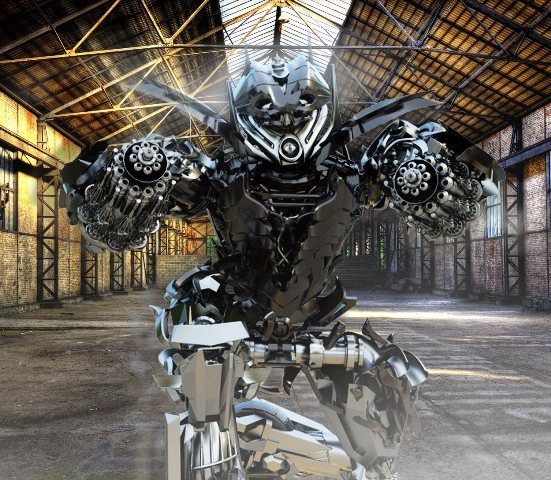
After very pleasant 2.5 month duration, filled with patience and determination, I finally completed my model. With great excitement and curiosity, I activated it and conducted a render test. I wanted to share with you the notes that I took while modeling such an extensive and fun project. If you have any questions you can contact me via “facebook/saitbakirci”, “www.saitbakirci.com” or saitbakirci@gmail.com. Up until now, this has been one of the most exciting and pleasant works that I have completed and this is also one of my very best.
In the end, I would like to thank you for the support that you have shown by reading this article, for more articles please keep visiting...